


How Wood Floor Porosity Affects Finishing Results

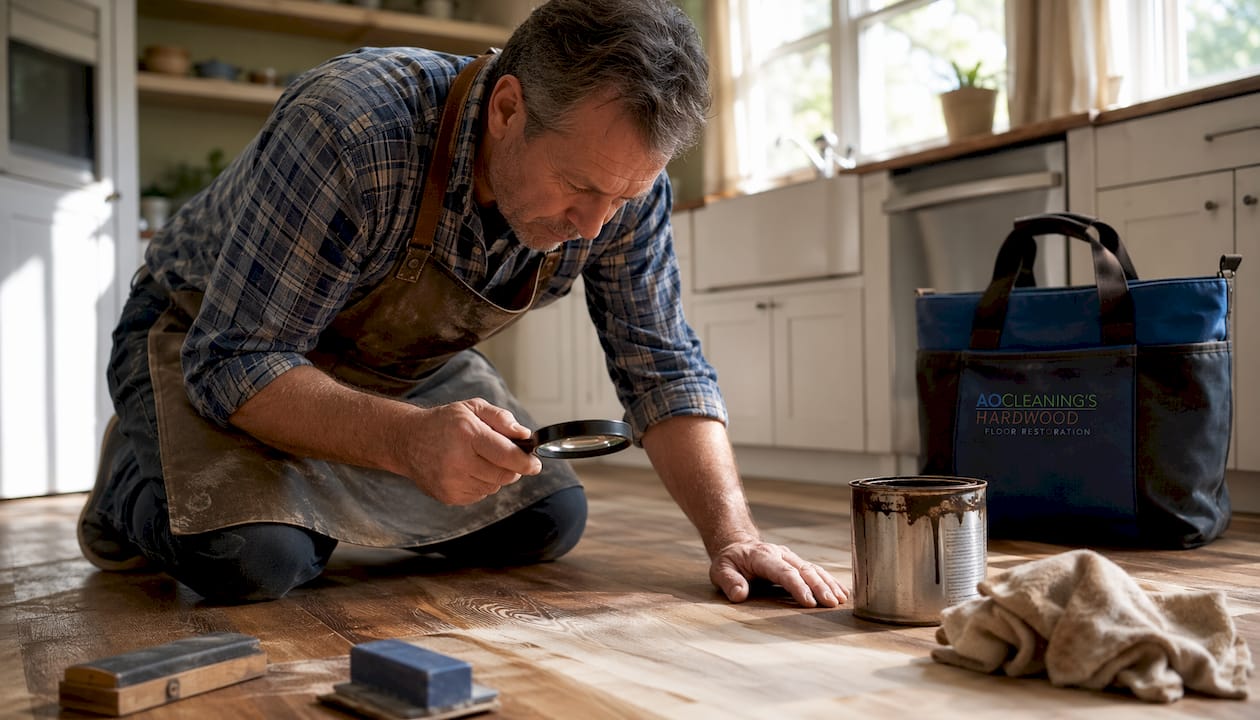
Wood floor porosity determines everything about how a finish performs. The size and distribution of microscopic pores in your hardwood govern how quickly a finish absorbs, how well it bonds, and how long it holds up under daily use. Get the match right between porosity and finish type, and your floors can last decades. Get it wrong, and you’re looking at peeling, blotching, or moisture damage within a few years.
Here’s what that means practically:
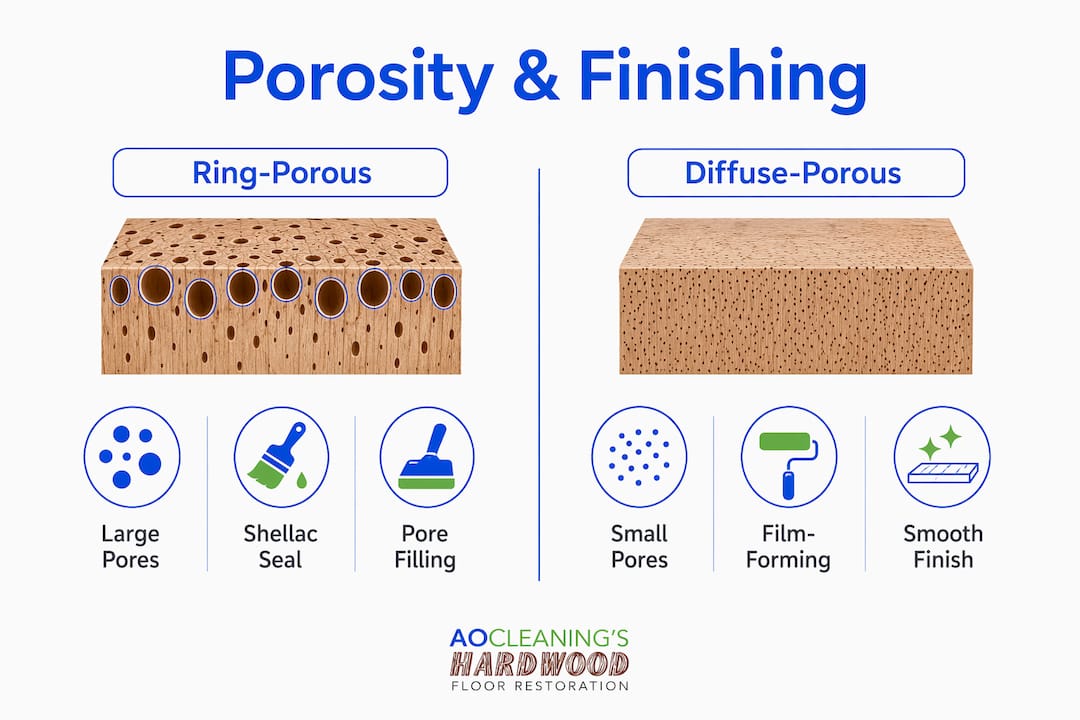
Open-grain (ring-porous) woods like oak, ash, and elm have large, distinct pores that absorb finishes fast but unevenly, often requiring pore fillers or multiple coats to achieve a continuous film.
Close-grain (diffuse-porous) woods like maple, cherry, and birch have small, dense pores that accept finishes more predictably but can blotch badly if surface prep is skipped.
Film-forming finishes (polyurethane, lacquer, varnish) sit on top of the wood and must bridge pores to create a protective barrier. On open-grain wood, thin coats leave gaps.
Penetrating finishes (tung oil, danish oil, hardwax oil) absorb into the cell walls, modifying the wood itself rather than coating it.
Sanding is not optional prep work. It opens pores uniformly and removes mill glaze, the compressed surface layer that blocks finish absorption entirely.
How wood floor porosity affects finishing: the core mechanism
Wood species fall into two structural categories: ring-porous and diffuse-porous. That classification is the single most important factor in choosing your finishing strategy.
Ring-porous woods grow large vessel cells in their early-season growth rings, creating visible, distinct pore channels. Oak is the classic example. A water drop on raw oak end grain vanishes in seconds because those large pores act like wide drinking straws, pulling liquid in fast through capillary action. The same mechanism that makes oak feel alive and textured also makes it demanding to finish.
Diffuse-porous woods distribute smaller pores evenly across each growth ring. Maple and cherry feel almost like dense paper to the touch. They absorb finishes more slowly and uniformly, which sounds easier until you hit their specific problem: blotchiness from textured grain that no amount of sanding fully eliminates.
The American Hardwood Information Center notes that close-grain woods like cherry and maple tend to develop finishing blotches caused by textured grain, and those blotches are a permanent feature of the wood’s structure, not a prep failure.
Why porosity dictates your finishing method
The choice between pore-filling and film-forming approaches comes directly from wood porosity guiding finishing strategies. On open-grain wood, a single thin coat of polyurethane does not create a barrier. It creates a discontinuous deposit that coats some surface areas while leaving pore openings uncoated.
A polymer layer below approximately 0.5 mil (12 microns) cannot bridge open pores on ring-porous species. Water enters through the uncoated pore openings and travels laterally beneath the film to areas that appear coated. This is why open-grain species like oak and ash either need pore-filling before film finishing or require three or more coats to establish film continuity.
Your main finishing options by porosity level:
Paste wood filler or epoxy seal coat for open-grain woods: physically plugs pores before topcoat application, creating a level surface.
Film-forming finishes (polyurethane, lacquer): build a protective skin on top of the wood. Require multiple coats on open-grain species.
Penetrating oils (tung oil, hardwax oil): impregnate wood cell walls for moisture resistance and dimensional stability. No bridging required.
Shellac seal coat: useful on thirsty open-pored woods to create a uniform base before topcoat.
Pro Tip: On open-grained oak, apply a shellac seal coat first to fill those large pores and create a uniform surface. On dense maple, you can often skip that step entirely since the finish lays down more predictably.
How finish failures connect to porosity and moisture
Film failures on porous wood are rarely dramatic at first. A small breach, a thin spot over a large pore, lets water in. Capillary action then draws moisture laterally beneath the film, lifting adjacent areas progressively. The delamination spreads faster than the initial breach suggests, which is why a floor that looked fine in October can show significant peeling by February.
Penetrating finishes fail differently. They wear gradually and uniformly across high-traffic areas rather than breaching at a point. A floor finished with hardwax oil that needs refreshing shows even wear across the kitchen threshold, not sudden flaking around a scratch.
Common failure causes tied directly to porosity:
Applying a single coat of film finish over open-grain wood without pore filling
Skipping inter-coat sanding, which breaks adhesion between layers
Finishing wood with elevated moisture content, trapping humidity under the film
Using a finish formulated for close-grain wood on a ring-porous species
Porosity regulates moisture absorption, which means finishing is fundamentally a moisture management strategy, not just a cosmetic one.
Why sanding is the step you cannot shortcut
The most important step in hardwood finishing is wood preparation, and sanding is where that preparation happens. It does three things simultaneously: removes old finish, levels the surface, and opens pores uniformly for even absorption.
Mill glaze is the hidden problem on new or recently milled wood. Manufacturing compresses the wood surface, sealing pores and making finish adherence fail before you even start. You cannot assess true porosity until mill glaze is removed by sanding.
Effective sanding sequence for porous hardwood floors:
36–40 grit: removes old finish and exposes fresh wood
60–80 grit: levels the surface and removes mill marks
100 grit: blends scratch patterns from coarser grits
120–150 grit: opens pores evenly for stain or finish
180–220 grit: final pass before film finish application
Poor sanding results in blotchiness and weak bonding, especially on diffuse-porous woods where uneven pore exposure causes stain to pool in some areas and skip others. After each pass, vacuum thoroughly and wipe with a tack cloth. Sanding dust left in pores clogs them, reducing finish adhesion and durability.
How wood species variance changes your finishing plan
Not all oaks behave the same, and not all maples do either. Red oak has larger, more open pores than white oak, which means it absorbs stain faster and deeper, producing richer color but also easier blotching. White oak’s tighter pores give you more control over stain depth. For a deeper look at how species differences affect care, the species matters as much as the porosity category.
Cherry presents a specific challenge: its diffuse-porous structure means it takes finish smoothly, but it darkens dramatically with UV exposure over time. A finish that looks perfect at installation can shift the floor’s color significantly within a year. Ash, a ring-porous species, has pores nearly as large as oak but a lighter, more uniform color that shows pore texture prominently under film finishes.
Testing wood porosity before you open a can of finish
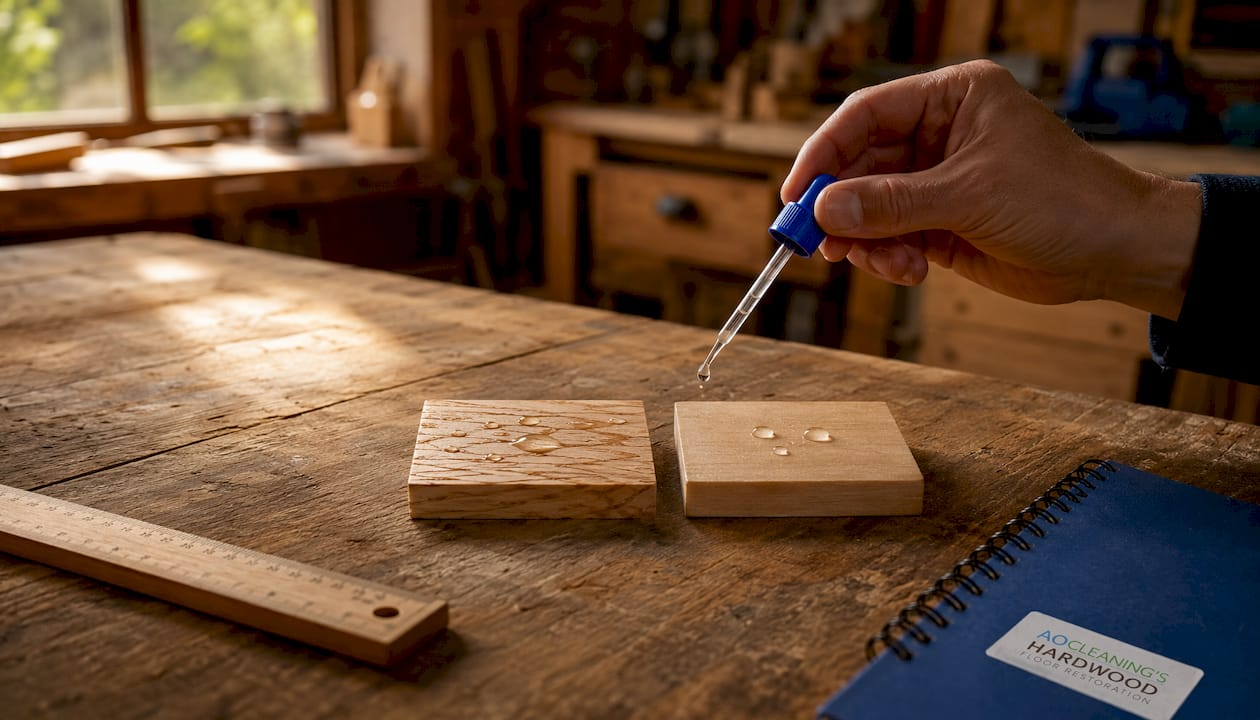
The water drop test is the fastest field method. Place a few drops of water on a sanded, clean section of your floor. If the water absorbs in under 30 seconds, you have large, open pores that will aggressively pull in stains and thin finishes, often producing uneven results. If the water beads or takes over two minutes to absorb, the surface is dense and close-grained, and finishes will sit on top rather than penetrate.
A second test: run your fingernail lightly across the sanded surface. On ring-porous wood, you can feel the pore channels as distinct ridges. On diffuse-porous wood, the surface feels uniformly smooth. That tactile difference tells you whether you need a pore filler before your topcoat.
Adjusting finish formulations to match porosity
Open-grain woods often need finish viscosity adjustments. A very thin first coat on oak soaks in so fast it can leave the surface starved and rough. Allowing slight solvent evaporation before application thickens the finish enough to stay at the surface longer, giving it time to level. Alternatively, a sanding sealer as a first coat seals the surface and sands easily to prepare for subsequent film-building layers.
For water-based polyurethane on open-grain floors, the fast dry time (typically 2–3 hours between coats) can work against you. The finish dries before it has time to flow into pores and level. Oil-based polyurethane’s longer open time (8–12 hours between coats) gives it more opportunity to settle into pore openings, which is one reason it remains a preferred choice for ring-porous species like oak. You can explore the full range of finish types to match formulation to your specific wood.
Long-term durability on porous woods
Film-forming finishes on open-grain wood require complete stripping and reapplication at end of life, typically every 7–15 years depending on traffic. Each refinishing cycle removes a thin layer of wood, which limits how many times a floor can be refinished over its lifetime. Penetrating oil finishes, by contrast, are refreshed rather than stripped. Worn areas get re-oiled without touching adjacent protected areas.
For high-traffic areas like kitchens and entryways, oil-based polyurethane or aluminum oxide systems offer superior longevity on porous hardwoods. A screen-and-recoat every few years extends film finish life without a full sand, preserving more of the wood’s thickness for future refinishing cycles.
Common problems specific to high-porosity woods
High-porosity woods like oak and ash create predictable finishing problems that catch DIYers off guard:
Grain raise: water-based finishes cause wood fibers to swell, creating a rough surface after the first coat. Light sanding between coats with 220-grit paper corrects this.
Pore shadowing: finish pools in pore channels, creating dark lines visible under raking light. Pore filler applied before topcoat eliminates this.
Uneven sheen: high-traffic areas wear the finish thin over pores first, creating dull patches surrounded by glossy wood. Regular maintenance coats prevent this from becoming a full refinish.
Stain blotching: stain absorbs too fast in large pores, producing dark spots. A pre-stain wood conditioner slows absorption for more even color.
Finish peeling at pore edges: thin film coats that bridge rather than fill pores eventually crack at the pore edges under foot traffic flex. Multiple coats or pore filling before topcoat prevents this.
Proper hardwood floor preparation before any finish application addresses most of these problems before they start.
Aosaveswoodfloors brings 20+ years of porosity expertise to your floors

Getting the finish right on porous hardwood is genuinely technical work. Aosaveswoodfloors has been doing exactly this for homeowners across central Illinois and the St. Louis metro area since 2003, with over 450 Google reviews backing their reputation as the region’s most trusted hardwood floor restoration company.
Their services cover every porosity-related scenario: full sand and refinishing for open-grain floors that need pore-level prep, screen and recoat for close-grain floors that just need a fresh film layer, and 1-day restoration for floors that look worse than they are. They use dustless techniques and eco-friendly products on every job, and most services are completed the same day with floors ready to walk on in about three hours. They also handle countertop cleaning, polishing, and sealing for a complete wood surface restoration.
Before you replace those floors, call Aosaveswoodfloors first. Serving St. Louis, Columbia, Belleville, O’Fallon, and surrounding communities.
Key Takeaways
Wood floor porosity is the single most important variable in finishing strategy, determining whether a film-forming or penetrating finish will bond, perform, and last.
Point | Details |
Porosity type drives finish choice | Ring-porous woods (oak, ash) need pore fillers or multiple film coats; diffuse-porous woods (maple, cherry) accept finishes more uniformly. |
Film failures start small | A thin spot over a large pore lets moisture travel laterally under the film, causing progressive delamination across the floor. |
Sanding is moisture management | Removing mill glaze and opening pores uniformly prevents uneven absorption, blotching, and adhesion failure before they start. |
Penetrating oils suit porous wood | Oils impregnate cell walls rather than bridging pores, wearing gradually and uniformly instead of breaching at a point. |
Aosaveswoodfloors matches finish to wood | With 20+ years serving central Illinois and St. Louis, they assess porosity and apply the right restoration method for your specific floor. |
Recommended

Comments