


Fenton MO Hardwood Restoration Process: A Homeowner's Guide

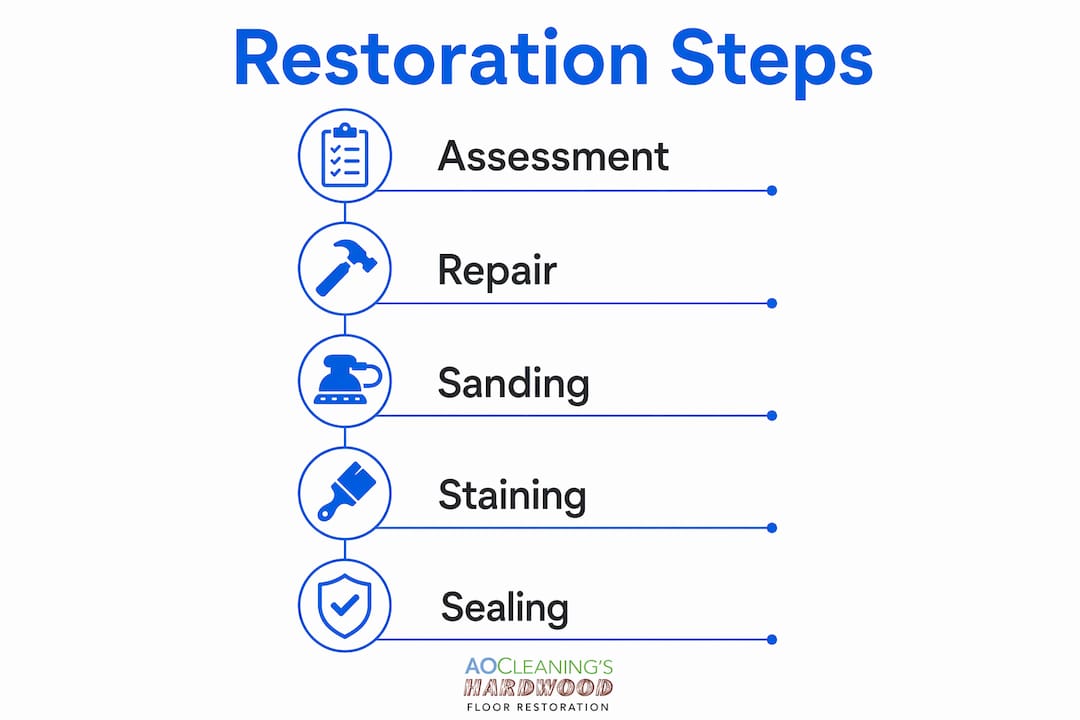
Hardwood floor restoration is defined as a multi-step process that repairs structural damage, removes surface wear, and applies fresh protective finishes to bring wood floors back to like-new condition. The Fenton MO hardwood restoration process covers five core phases: floor assessment, board repair, sanding, staining, and sealing. Each phase builds on the last, and skipping any one of them produces visible defects or premature wear. Restoration costs typically range from $5 to $12 per square foot for professional work, making it far less expensive than full floor replacement. Fenton homeowners who understand each step make better decisions about timing, budget, and whether to hire a professional or attempt portions themselves.
What is involved in assessing your hardwood floors before restoration?
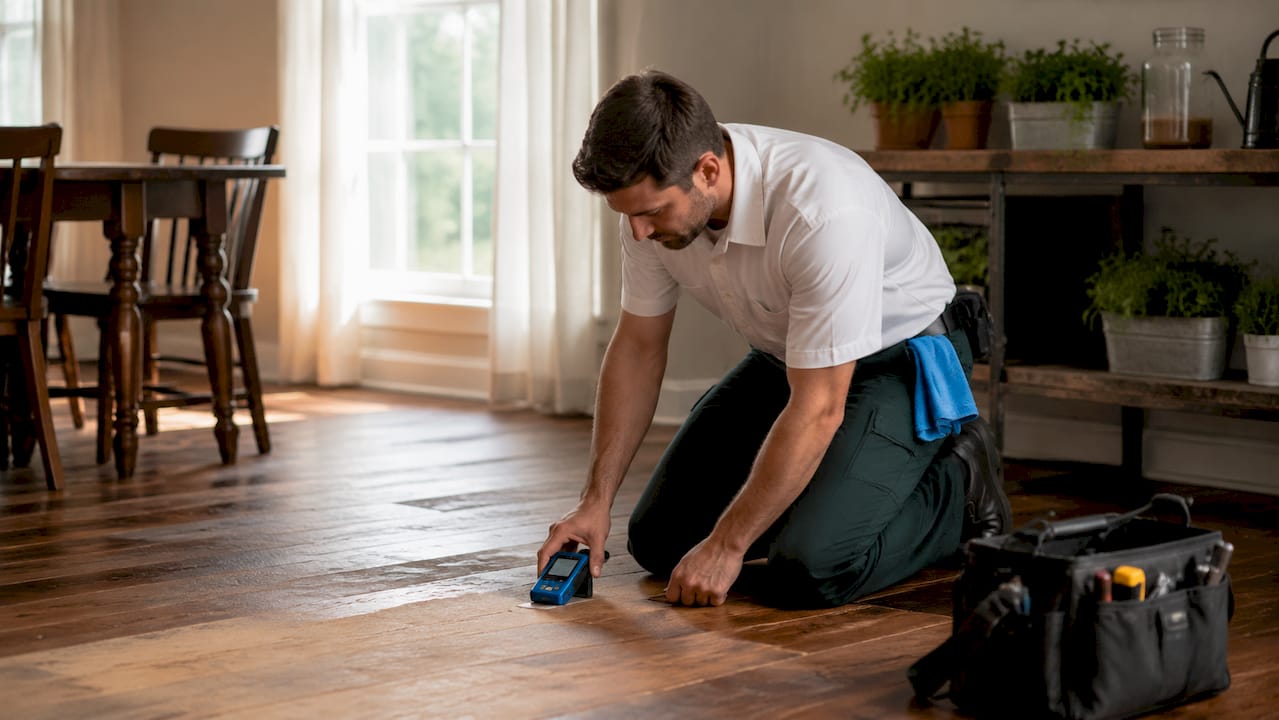
Floor assessment is the foundation of every successful hardwood restoration. A proper walkthrough identifies the specific damage types present and determines which restoration method is appropriate. Skipping this step leads to the most common and costly mistake in the process: applying the wrong treatment to the wrong floor.
During assessment, look for these specific conditions:
Stains and discoloration: Pet urine, water rings, and black oxidation stains often penetrate below the finish into the wood fiber itself. Surface refinishing alone will not remove them.
Scratches and gouges: Light surface scratches respond to screen and recoat. Deep gouges that reach bare wood require full sanding.
Cupping and crowning: Cupping means board edges are higher than the center; crowning is the reverse. Both signal moisture problems that must be resolved before any sanding begins.
Squeaks and soft spots: Squeaks indicate loose subfloor connections. Soft spots suggest rot or structural failure beneath the surface.
Wear layer thickness: Solid hardwood can be sanded 3 to 5 times before replacement is needed. Engineered hardwood typically allows only 1–2 refinishes due to its thinner wear layer.
Measuring the wear layer is non-negotiable before scheduling sanding. A floor with less than 3/32 inch of wood above the tongue cannot be sanded without risk of cutting through to the subfloor. Document every damaged area with photos and measurements. That documentation drives accurate repair estimates and prevents surprises mid-project.
Pro Tip: Press a flashlight flat against the floor surface at a low angle. This raking light technique reveals shallow scratches, uneven boards, and finish bubbles that are invisible under normal overhead lighting.
How are damaged boards and gaps repaired during hardwood restoration?
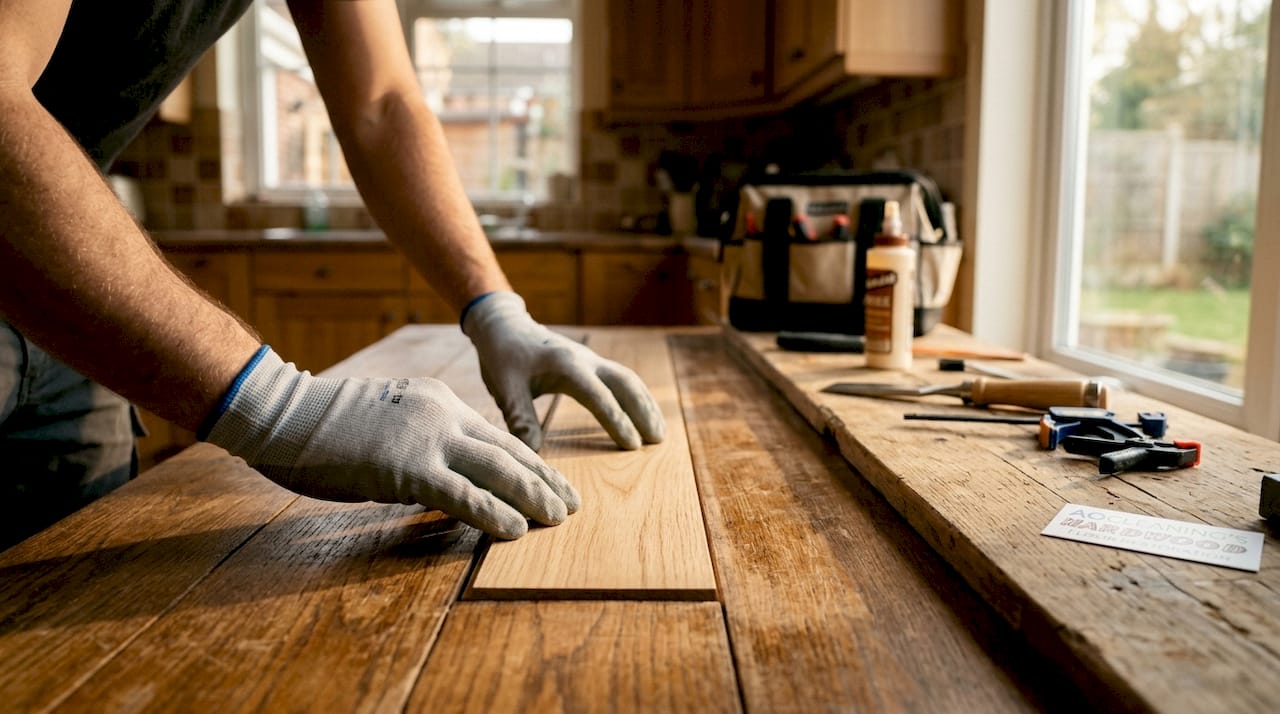
Board repair separates true hardwood restoration from simple refinishing. Refinishing applies a new finish coat over existing wood. Restoration fixes the wood itself before any finish goes down.
Replacing individual damaged boards follows a precise sequence:
Score the board perimeter with a circular saw set to the exact depth of the plank. Cutting too deep damages the subfloor.
Chisel out the damaged board working from the center outward. Never pry from the edges, which can split adjacent boards.
Fit and glue the replacement board. The new board must match species, width, and thickness. Glue it into place and face-nail where tongue-and-groove engagement is not possible.
Fill nail holes and small gaps with tinted wood filler matched to the floor species. For wider gaps between boards, wood splines or tinted filler provide a cleaner result than caulk.
Fix squeaks from below when accessible. Drive screws up through the subfloor into the hardwood to pull the plank tight. From above, drive finish nails at opposing angles through the face of the board near the squeak location.
Pro Tip: Buy 10–15% more replacement board material than your measured square footage. Grain and color matching between old and new wood is imperfect, and having extra boards lets you select the closest visual match.
Repair quality directly affects the final appearance of the floor. A poorly fitted replacement board creates a visible seam even after staining and sealing. Take the time to get the fit right before moving to sanding.
What sanding steps and grit progression are used in hardwood floor restoration?
Sanding is the most technically demanding phase of the restoration process. The goal is to remove the old finish and level the wood surface without creating new damage. The sequence of abrasive grits controls the final result.
The standard multi-grit progression works as follows:
36–40 grit (coarse): Removes old finish, levels cupped boards, and cuts through deep stains. This pass does the heavy work.
60–80 grit (medium): Removes the scratch pattern left by the coarse pass. The floor begins to look uniform at this stage.
100–120 grit (fine): Produces the final smooth surface ready for stain or finish. Skipping any grit in this sequence causes swirl marks and uneven stain absorption that no finish coat can hide.
Three tools handle different zones of the floor:
Tool | Zone | Purpose |
Drum sander | Field (center area) | Removes finish and levels the main floor surface |
Edger | Perimeter (6–8 inches) | Sands areas the drum cannot reach |
Random orbital sander | Transition zones | Blends field and edge sanding to prevent visible halos |
Improper edge blending between the drum-sanded field and the edger perimeter is one of the primary sources of floor restoration defects. The halo effect, a visible ring around the room’s perimeter, results from inconsistent scratch patterns between the two tools. A random orbital sander used in the transition zone eliminates this problem.
Dust control runs parallel to every sanding pass. HEPA-filtered vacuums and tack cloth between passes remove fine particles before they get trapped under the finish. Dust trapped under a finish coat creates bumps that ruin the surface uniformity and require re-sanding.
Pro Tip: Replace sanding belts every 250 square feet of floor area. A worn belt glazes the wood surface instead of cutting it, which prevents stain from penetrating evenly.
How to choose and apply stain and sealant during the restoration process?
Staining is optional, but it serves two practical purposes: unifying color across repaired and original boards, and matching the floor to updated trim or cabinetry. If your floor has significant color variation from replaced boards or sun fading, stain is the right call.
The two main finish types behave very differently:
Finish Type | Dry Time | Appearance | Durability |
Water-based polyurethane | 2–4 hours per coat | Clear, minimal yellowing | Good, requires more coats |
Oil-based polyurethane | 8–12 hours per coat | Warm amber tone | Higher per-coat durability |
Application technique matters as much as product choice. Use a lambswool applicator or foam pad for finish coats. Brush marks from bristle brushes show through the dried finish. Apply in the direction of the wood grain, working from the far wall toward the exit.
Key application conditions to control:
Humidity: Apply finish coats at 35–55% relative humidity. Higher humidity causes water-based finishes to cloud; lower humidity causes oil-based finishes to haze.
Temperature: Keep the room between 65°F and 75°F during application and drying.
Sanding between coats: Lightly screen the floor with 220-grit screen between finish coats. This removes dust nibs and improves adhesion for the next coat.
Three coats of finish is the professional standard for a floor that will see normal foot traffic. Two coats is the minimum for low-traffic areas.
What timeline and costs are typical for hardwood restoration in Fenton, MO?
A full hardwood restoration in Fenton runs through several distinct phases, and homeowners who plan for each phase avoid the most common scheduling mistakes.
Phase | Typical Duration |
Assessment and repair | 1–2 days |
Sanding (all grits) | 1–2 days |
Staining and drying | 1 day |
Finish coats and cure | 2–3 days |
Professional full refinishing costs $3 to $8 per square foot for labor and materials. That figure rises with the complexity of repairs, the number of damaged boards, and the finish type selected. A 500-square-foot living room with moderate damage falls in the $1,500 to $4,000 range for professional work.
Homeowner preparation directly affects project duration and cost. Before the crew arrives:
Remove all furniture from the work area.
Seal doorways with plastic sheeting to contain dust.
Disconnect and move any floor-standing electronics.
Plan to vacate the space for at least 24 hours after the final finish coat.
Aosaveswoodfloors completes most restoration services in a single day, with floors ready to walk on in about three hours after the final coat. That timeline is possible because of their dustless equipment and efficient multi-step process. For Fenton homeowners comparing options, the best hardwood floor refinishing services in the area vary significantly in how they handle dust control and cure time.
Key Takeaways
The Fenton MO hardwood restoration process succeeds when assessment, repair, sanding, staining, and sealing are each executed correctly and in sequence.
Point | Details |
Assessment comes first | Check wear layer thickness, moisture damage, and structural integrity before choosing a restoration method. |
Repair before sanding | Replace damaged boards and fix squeaks before any sanding begins to avoid locking defects under the finish. |
Follow the grit sequence | Sand from 36–40 grit through 100–120 grit without skipping steps to prevent swirl marks and uneven stain absorption. |
Control humidity during finishing | Apply finish coats at 35–55% relative humidity to prevent cloudiness or haze in the dried finish. |
Professional dust control matters | HEPA vacuuming and tack cloth between passes prevent dust from being trapped under the finish coat. |
What I’ve learned after watching hundreds of floor restorations go wrong
The single most consistent mistake I see is homeowners, and even some contractors, treating every hardwood floor as if it were the same. They skip the assessment, grab a drum sander, and start cutting. That approach works fine on a solid red oak floor with plenty of wear layer left. It destroys an engineered floor with a 2mm veneer or an old-growth heart pine floor where the grain runs tight and the wood responds differently to coarse abrasives.
Old-growth hardwood floors found in historic homes are often denser and more durable than modern lumber. That density makes them worth restoring rather than replacing, but it also means they sand differently. A coarse grit that works well on modern red oak can leave deeper scratch patterns in dense old-growth wood that take extra passes to remove.
The other issue I see constantly is dust control treated as optional. Dust control failure is the most common DIY restoration issue, and it shows up as a gritty, bumpy finish that feels rough underfoot. Once finish is applied over contaminated wood, the only fix is re-sanding the entire floor. That doubles the project cost and timeline.
My honest advice: if your floor has more than two of the damage types listed in the assessment section, hire a professional for at least the sanding and finishing phases. The full sand and refinish process requires equipment and technique that takes years to develop. The assessment and prep work, you can absolutely do yourself to reduce costs.
— Jim
Aosaveswoodfloors serves Fenton homeowners at every stage of restoration
Fenton homeowners dealing with worn, scratched, or water-damaged hardwood floors have a local option that covers every phase of the restoration process. Aosaveswoodfloors has served the St. Louis metro area since 2003, with over 450 Google reviews backing their reputation for quality work and minimal disruption.

Their service menu matches the full restoration spectrum. Floors that need light refreshing get a clean and buff service that restores shine without sanding. Floors with dull but intact finishes qualify for a screen and recoat, which adds a fresh protective layer in a single day. Floors with deep scratches, stains, or structural damage get a full sand and refinishing treatment using dustless equipment and eco-friendly products. Before you replace your floors, call Aosaveswoodfloors first.
FAQ
What does the hardwood restoration process include?
The hardwood restoration process includes floor assessment, board repair, multi-grit sanding, optional staining, and protective finish application. Each phase must be completed in sequence for a durable, uniform result.
How long does hardwood floor restoration take in Fenton, MO?
A full restoration typically takes 3–5 days from assessment through final finish cure. Aosaveswoodfloors completes most services in a single day, with floors walkable in about three hours after the final coat.
How many times can hardwood floors be sanded?
Solid hardwood can be sanded 3 to 5 times over its lifetime. Engineered hardwood allows only 1–2 refinishes due to its thinner wear layer, making accurate assessment before sanding critical.
When should I choose screen and recoat instead of full sanding?
Screen and recoat suits floors with a dull but structurally intact finish. Full sanding is required for deep scratches, pet stains, color changes, or boards that need replacement.
What humidity level is needed when applying hardwood floor finish?
Apply finish coats at 35–55% relative humidity. Outside that range, water-based finishes cloud and oil-based finishes haze, both of which require re-sanding to correct.
Recommended

Comments